Hello and welcome to Squareslide’s blog!
Today I am going to show you a fast and easy way to add icons in your presentation!
Icons are a helpful aid to almost every presentation, as they add value to the visualization experience.
Remember: You will rarely need fancy colorful icons with many details. Keep it minimal, simple and clear for a pro result.
PowerPoint offers a great feature called “Icons” (found in versions from 2016 and newer).
Let’s see how you can start using it:
1) Open a new PowerPoint presentation and select “Insert” from the top menu. Find the “Icons” tab and click on it.

2) You can find a good amount of icons, which are already categorized! This is really helpful for your quick search.
Choose an icon from a category (Accessibility, Analytics, Animals etc).
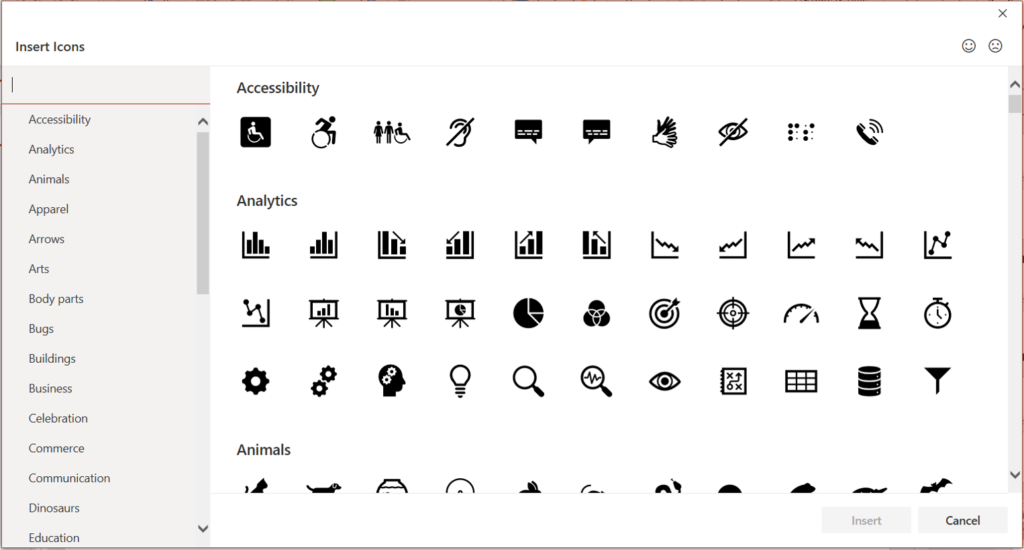
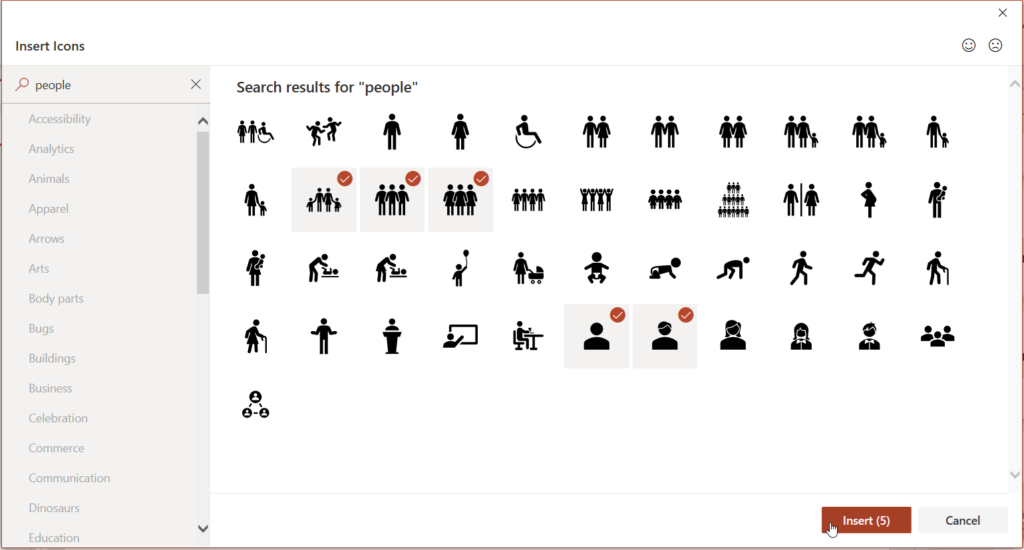
Tip: Also you can type a key word to find exactly what you need. For example, I searched for the word “people” and found all these available icons.
Remember that you can add more than one icon! Just click on the icons you want and after you select them all, click “Insert”.
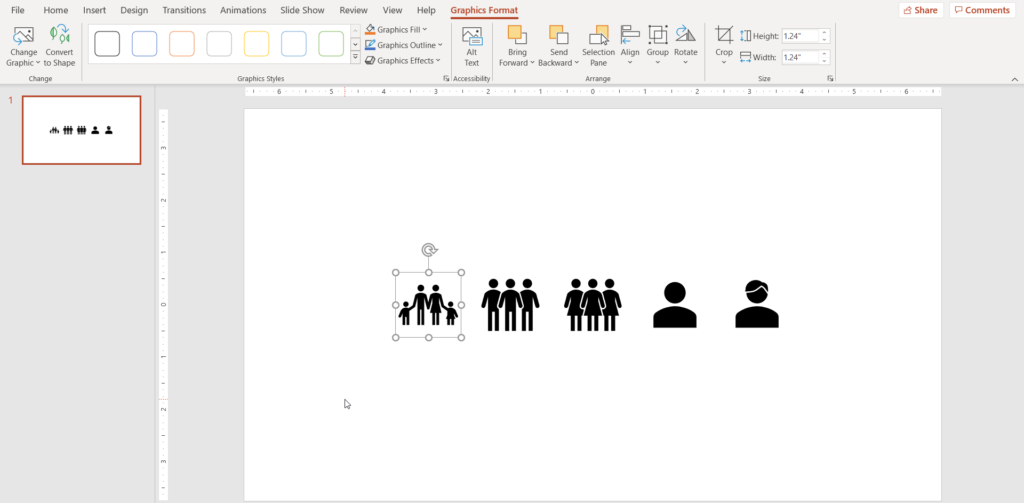
3) Now you can see all the icons you selected in your slide.
Let’s take it a step further though!
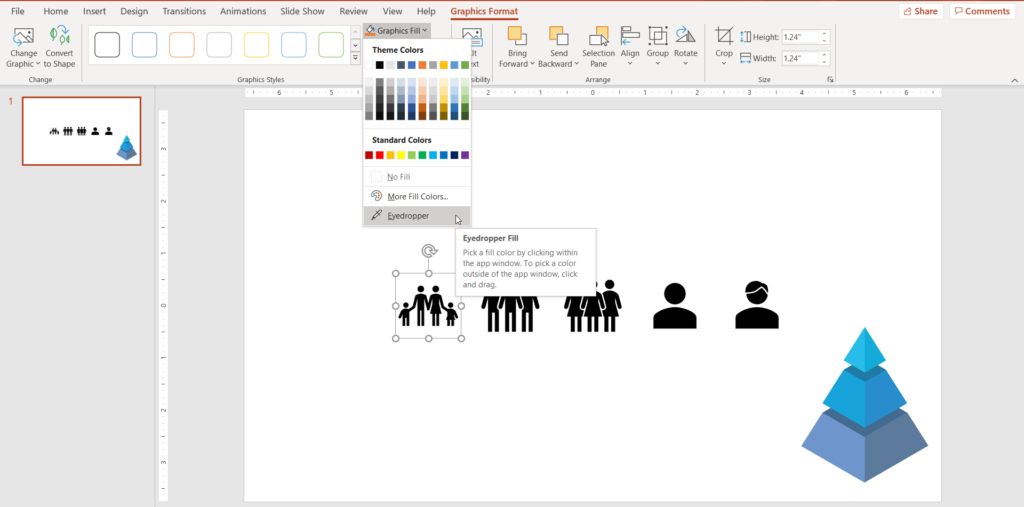
Would you like to change the color of an icon? If so, just click on it and as you can see a menu called “Graphics Format” has now appeared.
4) There are some really cool options here to do. Today we will learn how to change the color.
Click on “Graphics Fill” and pick a color you like!
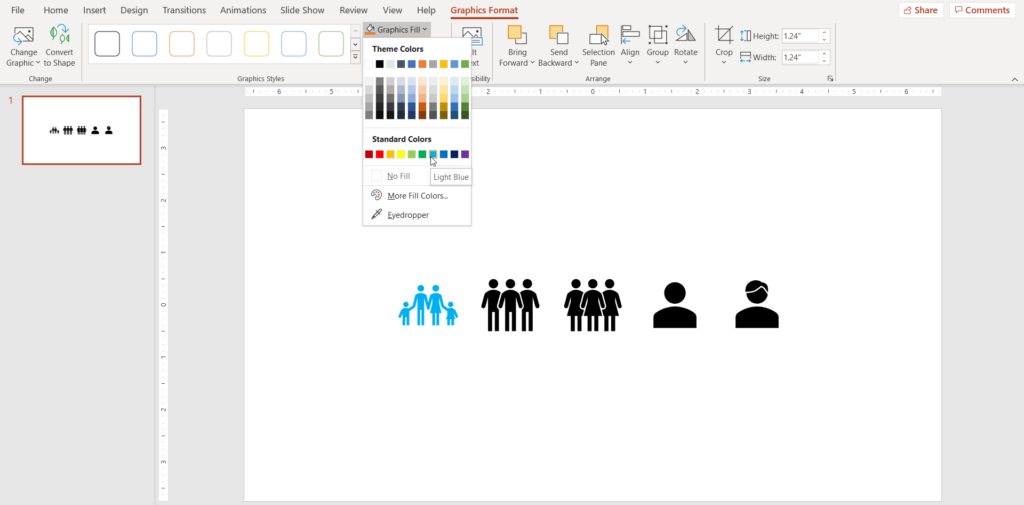
Tip: If you want a specific color that you cannot find in the Theme Colors of PowerPoint, you can use the “Eyedropper” tool. Click on “Eyedropper” and find the exact color you need from an existing element of your slide.
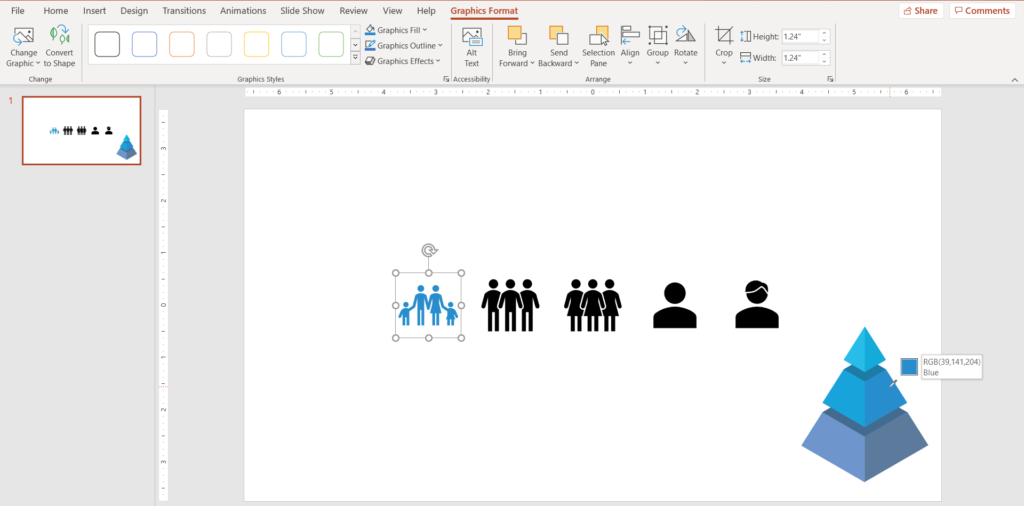
You can also change the outline from the “Graphics Outline” and if you would like to experiment more, take a look at the options in “Graphic Effects”!
Don’t feel afraid to use these features, there is always the “Undo” button there for you! 🙂


